
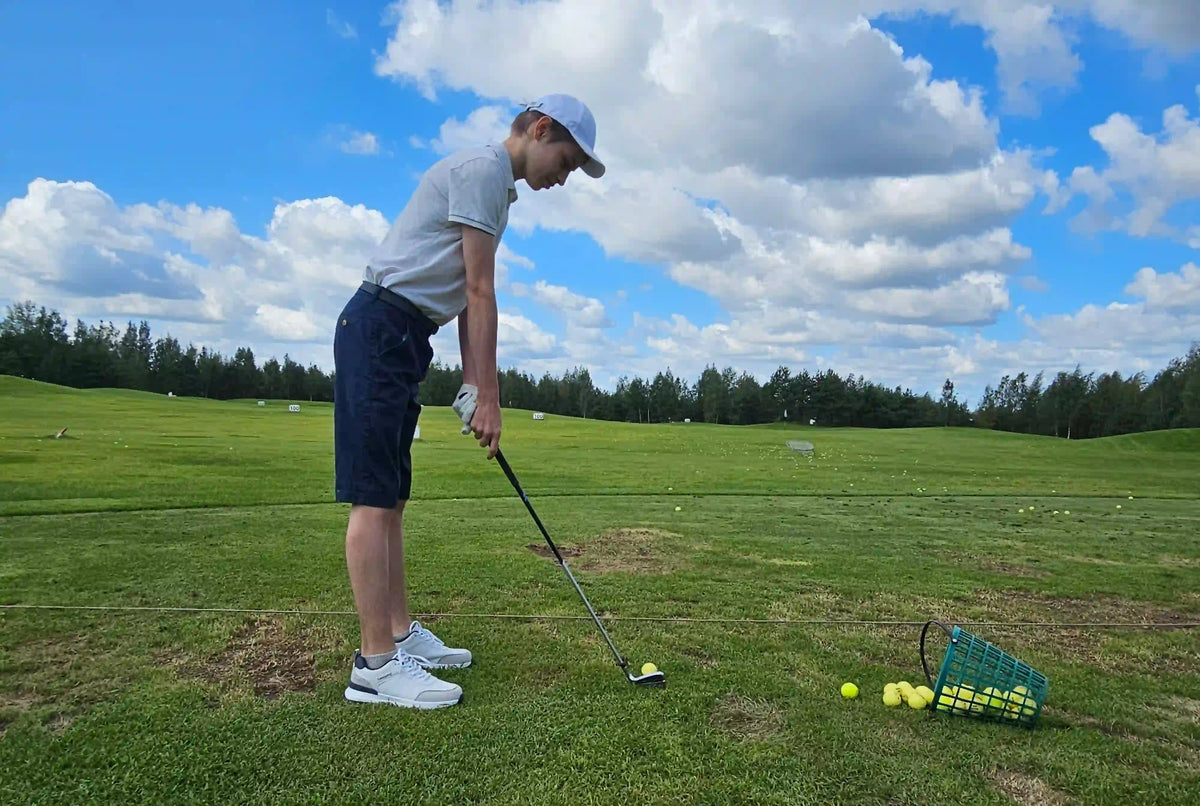
You hit a 7-iron that feels solid, then look at the screen. Carry, ball speed, spin, smash factor. Which number explains the shot you just saw?
Start with what you want to learn. Carry helps you check distance. Ball speed and club speed help you compare strikes. Launch and spin help explain the flight. You do not need to study every number after every swing.
Launch monitor data describes what the club and ball did during a shot. Start with carry distance, then use ball speed, club speed, smash factor, launch angle and spin rate to understand why the result changed. Compare several shots with the same club before drawing conclusions.
Launch Monitor Numbers at a Glance
| Metric | Common Units | What It Tells You |
|---|---|---|
| Carry distance | Yards or meters | The airborne distance reported by the monitor |
| Total distance | Yards or meters | Distance including bounce and rollout |
| Club speed | mph or km/h | Clubhead speed just before impact |
| Ball speed | mph or km/h | Ball speed immediately after impact |
| Smash factor | Ratio | Ball speed divided by club speed |
| Spin rate | rpm | How quickly the ball rotates after impact |
| Launch angle | Degrees | The ball’s initial vertical takeoff angle |
| Apex | Feet or meters | Maximum height above the ball’s starting level |
| Attack angle | Degrees | Whether the clubhead travels upward or downward at impact |
The available metrics and calculation methods vary by device. Some flight values are modeled from launch data, so check the distance mode and environmental settings when comparing sessions.
Carry Distance Is the Number Most Golfers Should Know First
If there is one number most amateur golfers should understand better, it is carry distance. Not total distance.
Total distance includes bounce and rollout. That can change a lot depending on turf, slope, firmness, and landing angle. Carry distance is cleaner because it tells you how far the ball flew before it hit the ground.
Carry matters when you need to clear water, fly a bunker, or get the ball over a false front. If you are choosing between two clubs, knowing the carry window often matters more than remembering the longest total distance you have ever seen.
A launch monitor helps because it removes some of the guesswork. You may think your 8-iron goes 150 because you have seen it finish there. But if the monitor shows it usually carries 140 to 145, that changes how you should play certain shots.
That may not be the number you wanted to see, but honest carry numbers lead to better club decisions.
Ball Speed vs. Club Speed: What’s the Difference?
Club speed is how fast the club is moving. Ball speed is how fast the ball comes off the face. Both matter, but they do not tell the same story.
A golfer can swing fast and still produce poor ball speed if the strike is off-center. Another golfer may swing slower but produce solid ball speed because they hit the center of the face more often. This is where launch monitor data helps: it separates effort from result.
Many amateurs assume that more effort should mean more distance. Sometimes it does. But sometimes swinging harder makes contact worse, spin worse, and distance less predictable.
A good practice session is not just about seeing the highest club speed number. It is about learning what speed you can control. The best number is often the one you can repeat.
What Is a Good Smash Factor for Your Club?
Smash factor is ball speed divided by club speed, with both speeds expressed in the same units. For example, 104 mph of ball speed from 80 mph of club speed gives:
104 ÷ 80 = 1.30 smash factor.Now imagine another swing at the same club speed produces only 96 mph of ball speed. That gives you a smash factor of 1.20. With the same club and ball, the difference is worth investigating. Check the strike before assuming you need to swing faster.
A driver can approach 1.50, while more lofted clubs normally produce lower ratios. Your wedge does not need to match your driver.
Use smash factor to compare shots with the same club. It can help flag a change in impact efficiency, but it does not identify the exact strike location or tell you whether the shot had the right launch and spin.
Keep the club and launch monitor the same when comparing smash factor. If you switch devices and the ratio changes, check the ball speed and club speed readings first. Differences in how club speed is measured can affect the ratio, so that change alone does not tell you whether your strike improved.
Read Spin Rate Alongside Launch and Ball Speed
Spin rate tells you how quickly the ball rotates after impact, measured in revolutions per minute, or rpm.
If two iron shots carry the same distance but one releases farther, look at spin, flight height and landing angle together. The green’s firmness matters too. The spin number alone cannot tell you where the ball will finish.
With driver, excessive spin can reduce distance for a given set of launch conditions. Lower spin is not automatically better either. With irons and wedges, spin contributes to flight and stopping behavior, but contact, launch and the lie affect the result.
If a drive looks fast but falls short, check ball speed, launch angle and strike as well as spin. That flight does not give you a reliable diagnosis on its own.
If your monitor reports spin loft, it can help explain a change in spin. Spin loft is the angle between the clubhead’s direction of travel and the direction the face is pointing at impact. More spin loft can produce more spin when the other conditions stay similar. If your iron spins more than usual, check contact and ball speed alongside spin loft before deciding what to change.
For a shot that curves, spin axis helps explain the bend. Spin rate alone does not tell you whether the ball should draw or fade, and wind can also move it sideways.
Launch Angle, Apex and Attack Angle Describe Different Things
Launch angle is the ball’s initial vertical takeoff angle, measured in degrees. Apex is the highest point of its flight above the starting level, usually shown in feet or meters.
Two shots can launch at similar angles and still reach different heights. Ball speed and spin help explain why. If your iron starts at its usual angle but flies lower and carries shorter, check whether those numbers changed too.
A higher flight does not automatically mean the ball will stop quickly. Landing angle, spin and the surface also matter. Watch how the shot lands as well as how high it flies, especially when practicing in wind.
Attack angle describes the clubhead’s upward or downward movement at impact. It is different from launch angle: an iron can strike the ball while moving downward and still launch it upward. Read it alongside strike and flight data rather than treating one angle as a target for every club.
What Counts as Good Launch Monitor Data?
Wondering whether your numbers are good? First check which club and shot you are comparing. A driver, a full 7-iron and a half wedge have different jobs.
| Club | Average Club Speed | Average Carry | Average Spin Rate | Average Smash Factor |
|---|---|---|---|---|
| Driver | 115 mph | 282 yards | 2,545 rpm | 1.49 |
| 7-iron | 92 mph | 176 yards | 7,124 rpm | 1.34 |
| PW | 84 mph | 142 yards | 9,316 rpm | 1.24 |
Source: Trackman's 2023 tour averages, published in 2024 .
Tour averages can provide context, but they are not personal targets. Your speed, club delivery and intended shot matter. For specific launch and spin targets, a fitting can help establish what works for your clubs and swing.
How to Read Your Next Practice Session
Choose one club, use the same ball model and check that the units and flight settings stay consistent. Hit a group of normal shots before reviewing the session.
Start with three questions:
-
Where do most shots fall within the carry range?
-
When carry drops, did ball speed fall too?
-
When ball speed stays similar, did launch or spin change?
Keep obvious mishits in the record, with a note about the contact. If you are building a stock carry range, separate those shots from your usual strikes so you can see both. Your longest shot deserves a place in the record too; it should not become the distance you expect every time.
On your next visit, compare similar shots under similar settings. Check whether the change you were working on produced a repeatable difference in carry or flight.
Once you have a useful carry range, see how to use launch monitor data on the course for club and target decisions.

Where BirdiLens Fits
The BirdiLens launch monitor pairs with the BirdiLens app to display shot data and automatically record swing video with data overlays.
If a shot felt solid but the carry came up short, review the video alongside its speed and flight numbers. Comparing several swings gives you more to work with than the final yardage alone.
FAQ
What is carry distance in golf?
Carry distance is how far the ball travels in the air before it lands. It is different from total distance, which includes bounce and rollout. Carry distance is especially important when golfers need to clear bunkers, water, rough, or the front of a green.
What launch monitor number should amateur golfers focus on first?
Most amateur golfers should start with carry distance because it shows how far the ball actually flies before it lands. Once carry distance is clear, ball speed, spin rate, launch angle, and smash factor can help explain why that distance changes.
What does smash factor mean?
Smash factor is ball speed divided by club speed. It helps compare impact efficiency between shots with the same club. Expected values differ by club, so a wedge should not be judged against a driver’s ratio.
Why does spin rate matter in golf?
Spin rate affects flight and stopping behavior. Read it with ball speed, launch angle and, when available, landing angle. Spin axis helps explain curvature; the rpm value alone does not tell you whether a shot will draw or fade.
Share:
What If You Could See the Shot Before You Hit It
A Better Way to Understand Each Shot in Golf